
What you need before you start
Painting a room is one of the most accessible DIY projects a homeowner can take on. The materials are low-cost, the process is forgiving, and the results are immediate. Before you open a single can, though, spending time on setup makes every step that follows easier.
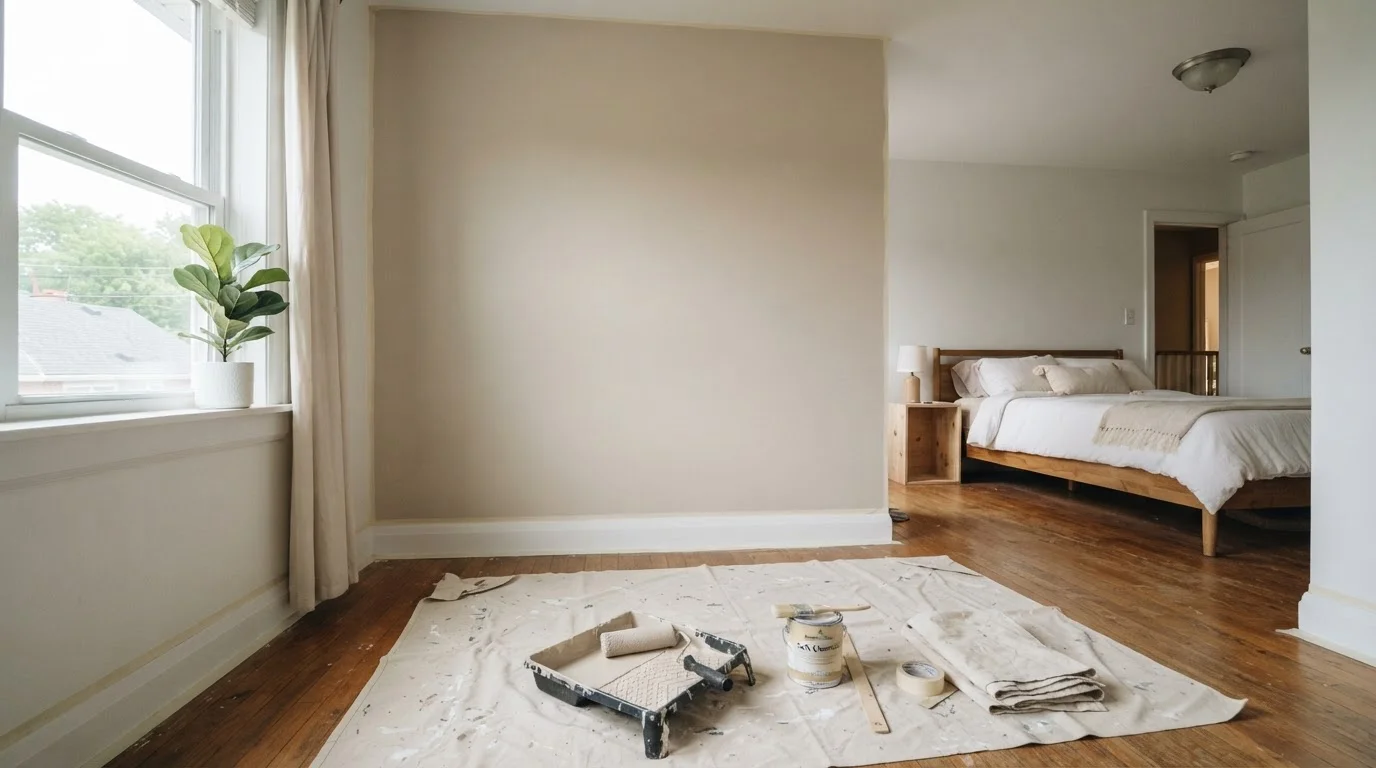
Here is a general list of what to gather. Costs vary by region, but most of these items are available at any hardware or home improvement store.
Paint roller with extension pole
Covers large flat wall surfaces quickly and with even pressure.
2-inch angled brush
Cuts in along edges, corners, baseboards, and ceiling lines where a roller cannot reach.
Painter's tape
Protects trim, window frames, and ceiling edges from paint bleed.
Drop cloths
Covers flooring and furniture to catch drips and splatter.
Paint tray and liner
Holds paint for the roller and controls how much paint loads onto the roller.
Sandpaper (120 to 150 grit)
Smooths rough patches, scuffs glossy surfaces, and knocks down dried drips.
Spackling compound
Fills small nail holes and minor dents before painting.
Primer
Seals bare patches and improves adhesion when switching paint color significantly.
For a standard bedroom or living room, budget roughly 1 gallon of paint per 400 square feet of wall space, accounting for two coats. Add primer separately if you need it. If you are unsure how much paint a room requires, measure the total wall area (height multiplied by width for each wall, then add them together) and subtract roughly 20 square feet per standard door and window opening.
For more ways to get the most out of a room without spending much, see small decor changes that stretch a room's feel.
How to prep, prime, and paint
The steps below apply to a standard interior wall surface, such as drywall that has been previously painted. If you are working with bare drywall, new construction, or a surface with significant staining, add a dedicated primer coat before painting.
Clear and protect the room
Move furniture toward the center of the room or out entirely. Cover everything with drop cloths, including the floor along the walls. Remove outlet and switch covers and store the screws somewhere they will not get lost. Take down any wall hangings and fill the holes with spackling compound using a putty knife. Let the compound dry fully before sanding it flush with 120-grit sandpaper.
Clean the walls
Wipe down all wall surfaces with a damp sponge or cloth. Pay attention to areas around light switches, door handles, and baseboards where grease and grime accumulate. For kitchen-adjacent walls or rooms with visible residue, a mild dish soap solution works well. Let the walls dry completely before moving on. Paint over a dirty surface will peel faster and look uneven.
Apply painter's tape
Run painter's tape along the ceiling line, baseboard trim, window casings, and door frames. Press the tape edge firmly with a putty knife or your fingernail to prevent paint from bleeding underneath. Work in short sections rather than trying to run one long strip, which is harder to keep straight. Apply tape only to surfaces that are already fully dry.
Prime if needed
If you are covering a dark color with a lighter one, painting over fresh spackling patches, or working on bare drywall, apply a coat of primer first. Use a brush to cut in the edges and a roller for the main surface, the same technique you will use for the finish coat. Let primer dry fully according to the product's label directions before sanding lightly and wiping off dust.
Cut in the edges
Using a 2-inch angled brush, paint a 2- to 3-inch band along all edges: ceiling line, corners, baseboards, and around windows and doors. This is called cutting in, and it creates clean edges that a roller cannot reach. Work one wall at a time so the cut-in edges are still wet when you roll the main surface, which helps the two applications blend without visible lines.
Roll the walls
Load the roller by rolling it through the paint tray and then back across the ridged section to remove excess. Apply paint in a W or M pattern on the wall, then fill in the shape with even strokes without lifting the roller. Maintain a wet edge by working in sections and overlapping each pass while the paint is still wet. Apply one thin, even coat and let it dry completely before assessing whether a second coat is needed.
Apply the second coat and finish up
Most wall paints require two coats for consistent color, especially over lighter surfaces or when making a color change. Wait for the first coat to dry fully, which is typically at least two hours for latex paint, though drying time depends on temperature and humidity. Apply the second coat using the same cut-in-then-roll sequence. Once the second coat is dry to the touch, remove the painter's tape slowly at a 45-degree angle. Reinstall outlet covers and rehang any artwork after the paint has cured, usually 24 hours.
Painting is one of the clearer cases where DIY saves real money, but it is worth understanding when a project might be better handed off. DIY home repairs do not always cost less than hiring out, and that context is useful before committing to a larger project.