
Why small leaks escalate so fast
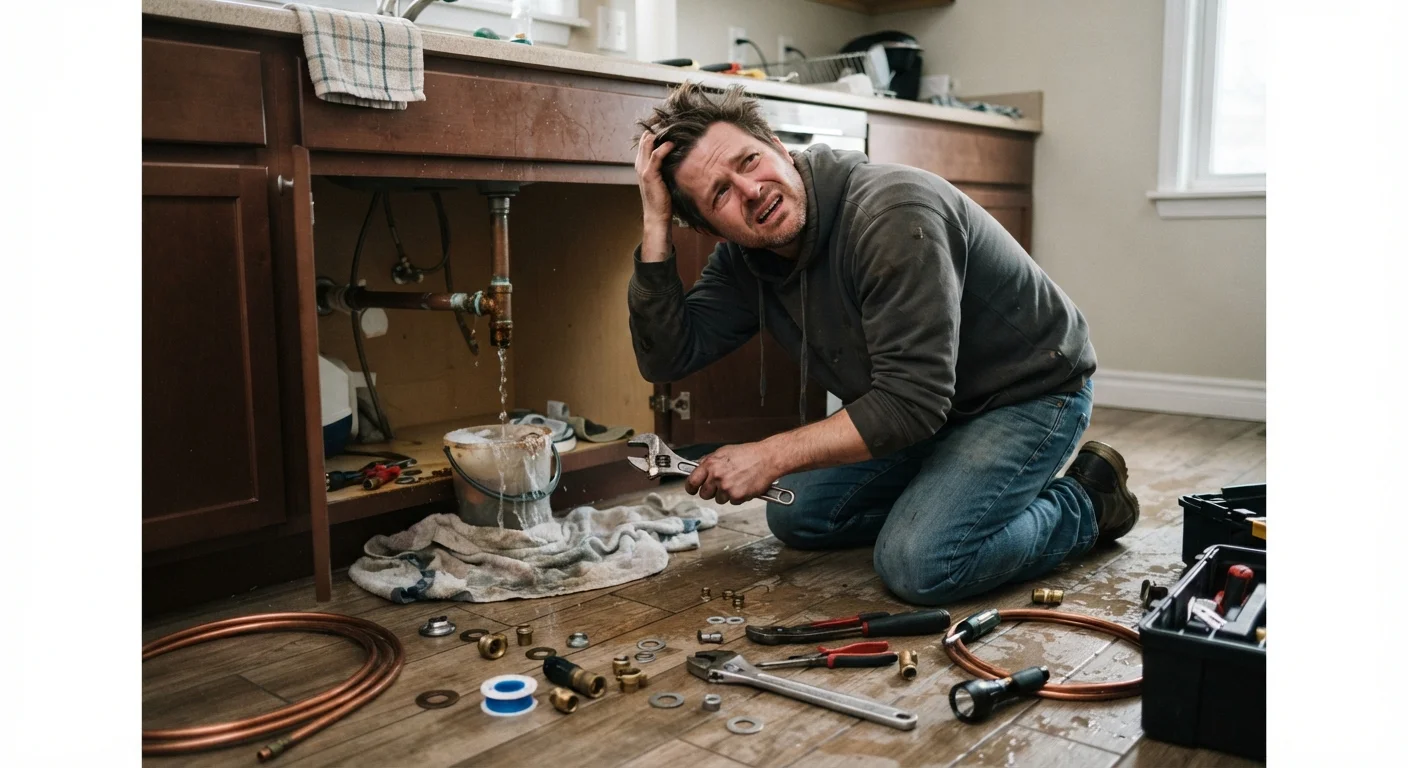
Water moves through a home along the path of least resistance. A drip from a supply line under a sink soaks into the cabinet base, wicks into the subfloor, and can reach the floor framing before the surface feels soft underfoot. By the time you notice the floor flex, the damage is no longer cosmetic.
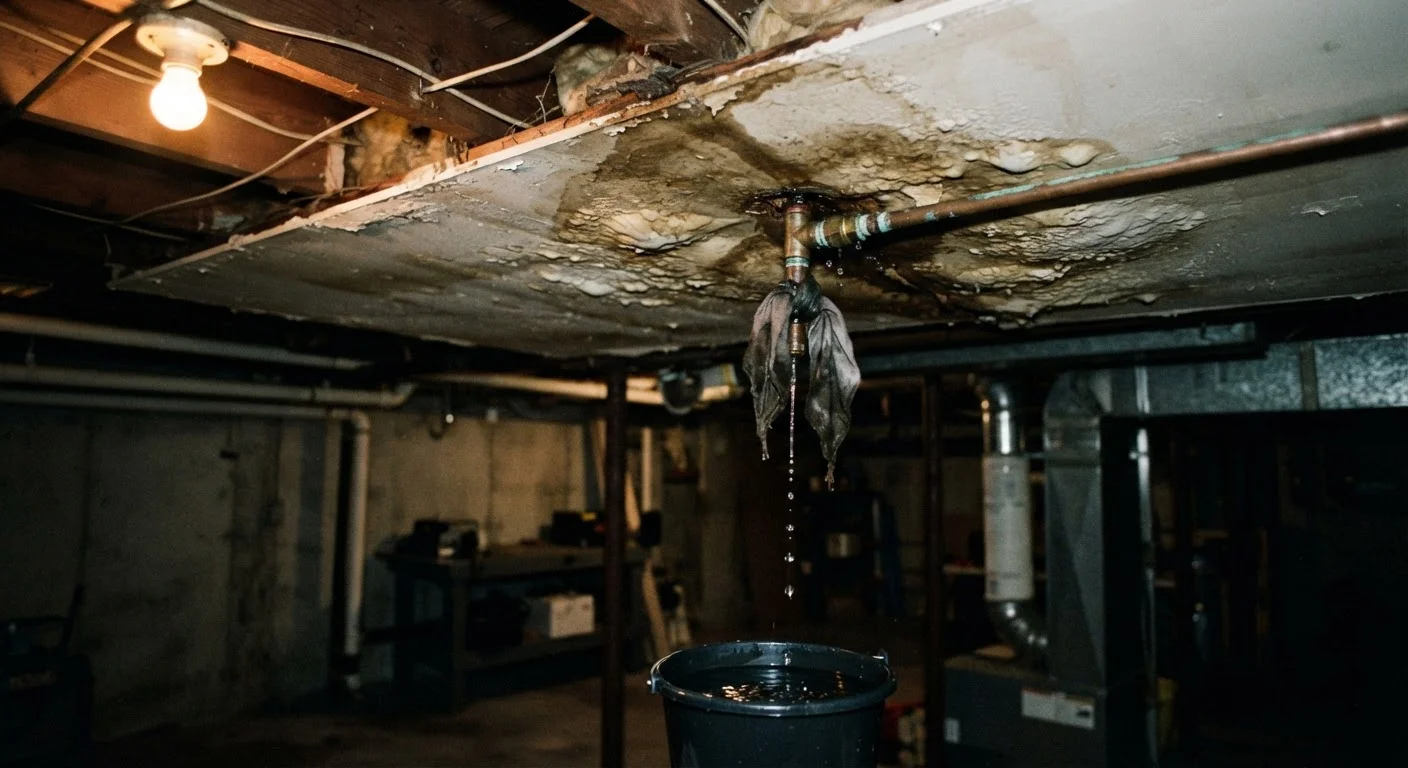
The speed of escalation depends on the materials involved. Drywall, OSB (oriented strand board), and wood framing absorb moisture quickly and release it slowly. Insulation in a wall cavity can hold water for weeks without any visible sign on the finished surface. That combination of fast absorption and slow evaporation is what turns a $200 repair into a $3,000 project.
Routine maintenance checks that catch slow drips early are far cheaper than remediation after the damage compounds.
The mistakes that cause the most damage
Most of the serious harm from water damage does not come from the water event itself. It comes from what happens in the hours and days after. The errors below account for the majority of cases where a manageable problem becomes a structural one.
Waiting to act because the damage looks minor.
Why it happens: A small stain or slow drip does not feel urgent, so homeowners put off investigation while managing other priorities.
Drying only the surface while moisture stays in the wall cavity or subfloor.
Why it happens: Running a fan across a wet floor or wiping down a wall feels productive, but water wicks into porous materials and sits behind finishes where air cannot reach it.
Patching or repainting over water-damaged drywall before it is fully dry.
Why it happens: Cosmetic repairs feel like progress, and homeowners often want the room back in service quickly.
Skipping documentation before starting cleanup.
Why it happens: The instinct is to grab towels and start mopping, which erases the evidence your insurance company needs.
Assuming a one-time fix is enough without monitoring for recurrence.
Why it happens: Once the visible damage is repaired and the area looks normal, it is easy to assume the problem is gone.
Mold can establish in 24 to 48 hours
Once mold colonies form inside wall cavities or under flooring, removal is far more involved and expensive than standard water damage repair. Do not assume a surface looks dry means the area is dry. If you suspect mold is already present, consult a licensed remediation contractor before doing any further work.
One pattern worth calling out: many homeowners focus on visible flooring or ceiling stains and ignore cabinets, wall cavities, and the spaces under appliances. Water travels horizontally along framing and subfloor seams, so the wet area is almost always larger than the stained area.
If a repair project ends up larger than expected, reviewing how contractor estimates are structured can help. The article on when DIY costs more than hiring out covers situations where professional involvement saves money overall.
Checking moisture levels without expensive tools
A basic pin-type moisture meter is the most useful tool most homeowners do not own. It reads the electrical resistance between two small probes pressed into a surface. Higher moisture content lowers resistance and raises the displayed number. For wood framing and subfloors, readings above 19 percent are generally considered wet; readings between 16 and 19 percent are elevated and worth monitoring. Drywall should read below 1 percent before you close it up.
Without a meter, you can still do a reasonable check. Press your palm flat against baseboards and lower wall sections. Cold spots or soft give in drywall indicate moisture. Lift floor transition strips and check the material underneath. A musty smell in a closed space with no obvious source almost always means moisture is present somewhere nearby.
Structural and electrical risks require professional assessment
Water that reaches a subfloor, load-bearing framing, or an electrical panel is not a DIY situation. Before touching anything in a flooded area, confirm the electricity to that zone is off at the breaker. If you see sagging ceilings, soft flooring, or water near any electrical components, stop and call a licensed contractor or electrician.
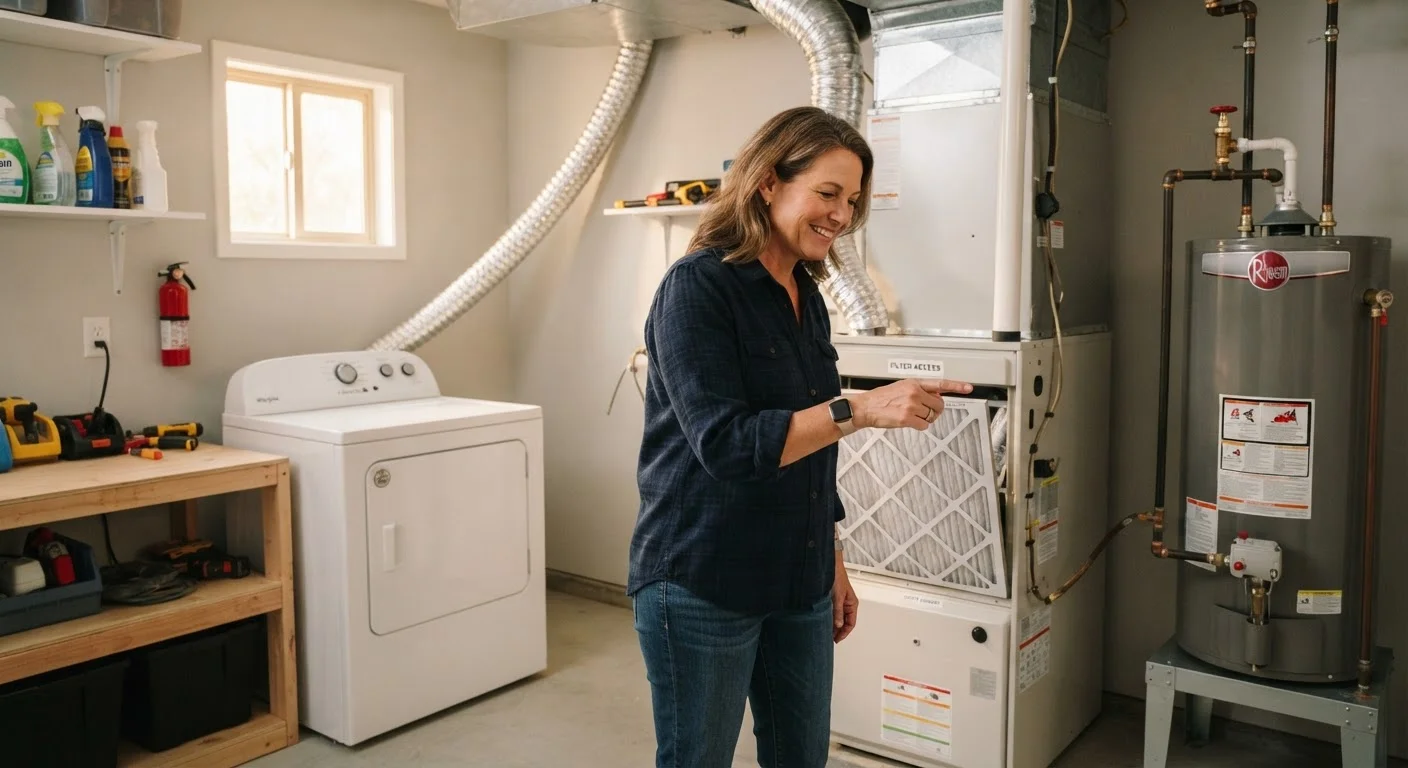
Checking for hidden moisture around water heaters, washing machine hoses, and under sinks every few months takes less than ten minutes and catches problems before they compound.
When to stop the DIY approach
Water damage that stays on hard, non-porous surfaces and dries within 24 hours is generally manageable without professional help. Everything beyond that involves judgment calls about how far the moisture traveled and whether mold is already present.
The cases that warrant a professional assessment include water that reached insulation, water from a sewage or drain backup (which carries contamination risk), any event involving more than a few square feet of flooring or drywall, and anything where the source was not found and fixed before cleanup started.
Before authorizing any repair work from a contractor, it helps to understand what each line on an estimate means. The same careful reading that applies to a mechanic's repair estimate applies equally to home restoration quotes: verify scope, materials, and labor are itemized separately so you can ask informed questions.
This article is for general informational purposes only. It does not constitute professional contracting, legal, or insurance advice. Consult a licensed contractor or your insurance provider for guidance specific to your situation.